Tennessee wins this battle through an early kiting setup, patience against broadside targets, and timely AP/HE switches. The dangerous moments come whenever I expose too much hull to bring the rear turrets into play: twelve guns are tempting, but the “Back to Port” button is never far away.
The 189,991-damage Tennessee battle
Watch the full battle, then follow the analysis below for the positioning, ammunition switches and key decisions.
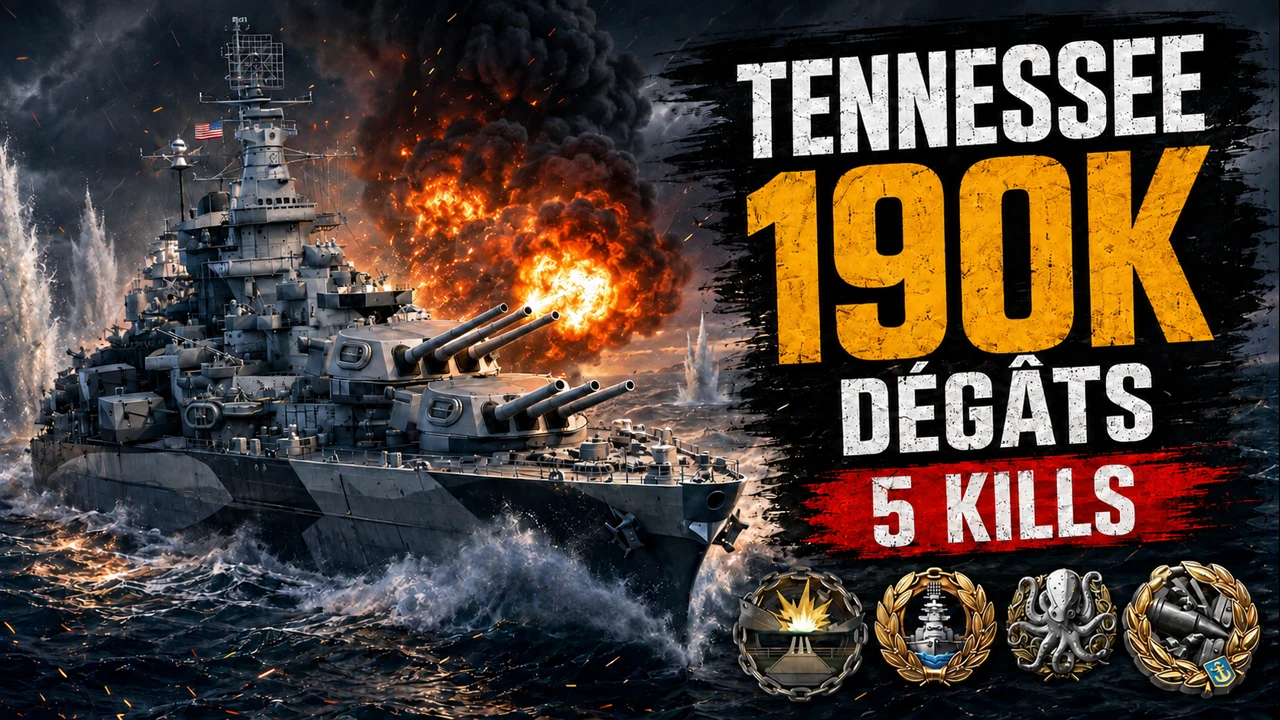
189,991 damage and five kills naturally grab attention. The replay is more useful because it shows both sides of Tennessee: a highly accurate firing platform at the right range, and a slow battleship that cannot quickly erase a positioning mistake.
This is not a flawless showcase. There are sound target reads and one decisive cruiser salvo, but also several moments where too much broadside could have brought the battle to a very abrupt end.
Battle results
| Statistic | Result |
|---|---|
| Damage | 189,991 |
| Ships destroyed | 5 |
| Main-battery hits | 117 |
| AP damage | 95,693 |
| Direct HE damage | 55,256 |
| Fire damage | 39,042 |
| Fires caused | 6 |
| Citadel hits | 4 |
| Achievements | 4: Kraken Unleashed, Devastating Strike, High Caliber and Confederate |
The split matters: AP delivers just over half of the total, while HE and fires still account for a huge share. Tennessee is not an automatic AP dispenser. Target angle always has the final say.
Tennessee at a glance
Tennessee is a Tier VIII U.S. Premium battleship carrying twelve 356 mm guns in four triple turrets. Her profile lists 20.2 km of range, a 28-second reload and 172 m maximum dispersion.
| Characteristic | Base value | Battle impact |
|---|---|---|
| Hit points | 59,000 | Limited reserve; free damage is expensive |
| Top speed | 20.5 knots | The flank must be chosen before contact |
| Main battery | 4×3 356 mm | High shell count and consistent salvos |
| Range | 20.2 km | Can contribute without entering the brawl early |
| Base sea detection | 14.1 km | Can disengage when enough room is available |
For every detailed value, open the full Tennessee ship profile.
Strengths and weaknesses
Strengths
- Twelve accurate guns: shell volume partly offsets the 356 mm caliber and makes superstructures easier to work.
- Comfortable range: Tennessee can build crossfires and punish ships that forget about her.
- Useful AP and HE: AP rewards broadside targets, while HE remains dependable against angled ships.
- Usable concealment: with enough space, she can stop firing, go dark and reset the engagement.
Weaknesses
- 20.5 knots: choosing the wrong flank is not a brief mistake; it becomes a subscription for the rest of the match.
- 59,000 HP: the margin for error is small for a Tier VIII battleship.
- 356 mm caliber: AP cannot force every bow it meets; shooting the belt of an angled target mostly produces decorative ribbons.
- Tempting rear turrets: insisting on all twelve guns can expose far too much hull.
How to play Tennessee
Tennessee prefers medium- to long-range fights with an exit route already planned. Pick a flank, arrive slightly behind the first line, establish a kite and preserve open water to adjust the hull angle between salvos.
- AP: broadside cruisers, upper belts and superstructures on battleships with a workable angle.
- HE: destroyers, bow-in battleships and targets on which AP has lost its angle.
- Aiming: waterline beneath the funnels on a flat cruiser; slightly higher as it turns in.
- Angling: around 30–35 degrees, only opening after the enemy salvo if the rear turrets are needed.
The goal is simple: make the guns work without offering the whole hull in return. Slow does not mean static; it means thinking a little earlier.
The opening kite
I head toward the outer southeast flank and immediately prepare to kite away. That suits Tennessee: enemies remain in front of the guns, distance increases if they push, and crossfire opportunities toward the middle stay open.
Driving straight in would be the trap. At 20.5 knots, Tennessee cannot quickly correct an overcommitment. Turning before the enemy line is fully spotted avoids showing a large broadside under concentrated fire.
Cossack: right target, wrong shell
Cossack is the first available target. The priority is sound: early destroyer damage is usually more valuable than scratching a battleship. The loaded AP, however, produces only 1,129 damage.
HE would have offered more reliable damage and module damage. There was no reason to skip the shot, but the next reload should immediately account for the destroyer remaining exposed.
Flandre and Tirpitz: work the target without overselling the caliber
Against battleships showing enough side, AP finds regular penetrations through upper belts and superstructures. The goal is not to chase citadels at all costs: with 356 mm guns, consistent penetrations are worth more than aiming so low that shells disappear into the main belt.
The main flaw is my own hull angle. I sometimes remain too open to fire the rear turrets. The safer rhythm is to wait for the enemy salvo, open briefly, fire, then angle back. The guns need 28 seconds to reload; the enemy does not need a 28-second guided tour of Tennessee’s broadside.
When targets angle, HE takes over
Once the battleships stop showing side, I switch to HE. That choice produces 55,256 direct damage, six fires and 39,042 fire damage.
This is not HE by default. It is recognition that AP has lost its target. Aim at superstructures and extremities, watch for Damage Control Party, then look for a fresh fire once it ends.
Bayard: wait for the real broadside
Bayard appears at roughly 12 km. I do not fire as soon as the ship becomes visible. I wait for the turn to expose a genuine broadside, then aim low beneath the funnels and along the waterline.
The result is 29,490 damage, four citadels and Devastating Strike. It is less about a magical flick than three basic decisions: keep AP loaded, wait for the angle, and place the reticle where the citadel actually sits.
North Carolina, Congress and Kraken
After dropping as low as 6,306 HP, I break the engagement and let Repair Party recover part of the ship. That pause is essential: staying alive makes it possible to finish the low-health North Carolina and then focus Congress as it threatens the capture area.
HE remains useful while Congress is angled. As soon as the hull opens, AP becomes the better choice again. The fifth kill triggers Kraken Unleashed, with roughly 18,457 HP remaining after repairs.
The right decision is not only the final shot. It is accepting, a little earlier, that stopping fire long enough to recover keeps the ship relevant.
Six lessons from the replay
- Choose the flank early: at 20.5 knots, Tennessee does not improvise a redeployment.
- Set the kite before detection: the exit route should exist before the first incoming shell.
- Twelve guns do not mean all twelve must always fire: one rear turret is not worth exposing the broadside.
- Choose shells by angle: AP into sides, HE into angled targets or destroyers.
- Wait for the window: Bayard disappears because the shot leaves at the right moment and hits the right place.
- Preserve HP: disengaging and repairing make the endgame possible.
What this battle says about Tennessee
Tennessee is a strong long-range punisher that asks for anticipation more than reflexes. Accuracy, twelve guns and two useful ammunition types let her influence several kinds of target. Low speed and a limited HP pool, however, turn every route or angle mistake into a lasting problem.
The 189,991 damage mainly comes from keeping a productive firing position, changing ammunition as angles evolve, and prioritizing vulnerable targets. The dangerous moments expose the ship’s limit: once committed, Tennessee does not have the engine power to erase a decision made thirty seconds too late.
See every detailed characteristic in the Tennessee ship profile, then review reticle placement in the AP, HE and aiming guide.
New to World of Warships?
The WoWS recruitment page explains the available rewards, eligibility for new or returning accounts, and the process for the Europe server.