The battle was won through positioning and ammunition choice. It almost swung the other way because I kept looking for more damage when the match was effectively already won.
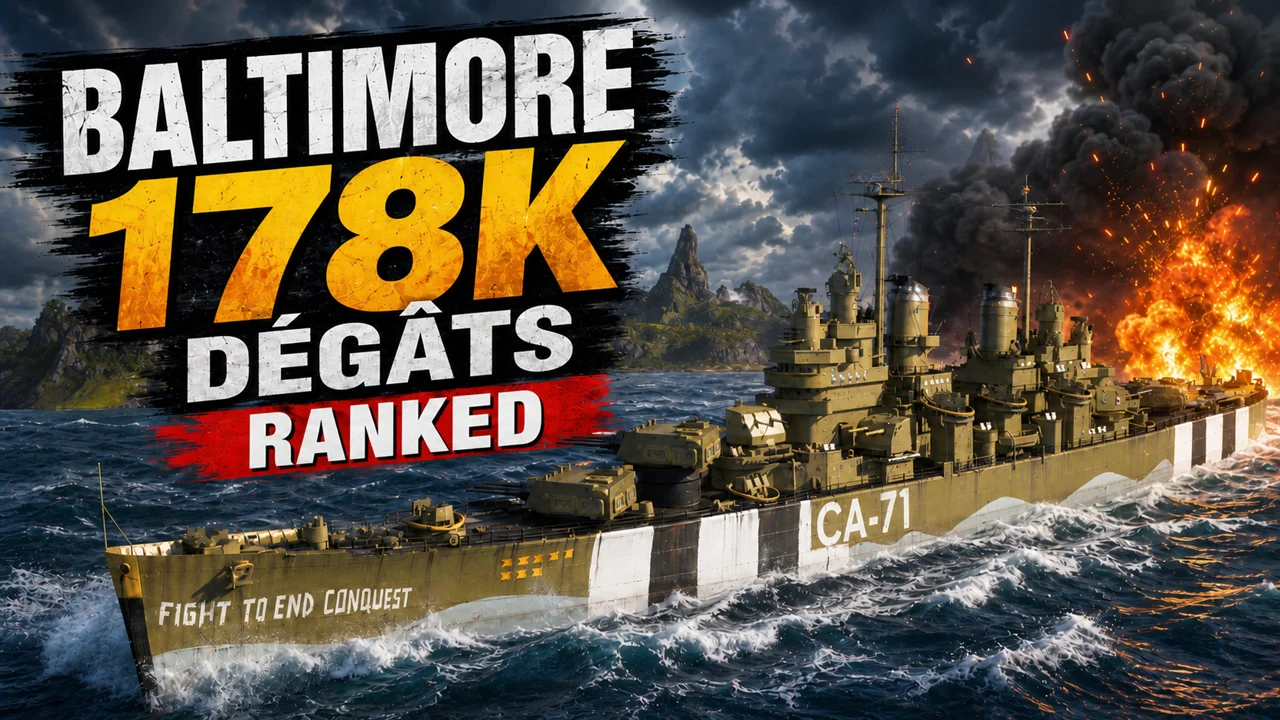
Baltimore’s 178,060-damage Ranked battle
Watch the full battle, then use the analysis below to understand every important decision.
178,060 damage, 200 shell hits, 5 fires and a victory. On paper, it is difficult to ask for much more.
Yet this Baltimore battle ends with only 1,735 hit points. That is precisely what makes it worth analysing.
For most of the match, Baltimore does exactly what she is supposed to do: control the approaches to a capture area, use islands, pressure destroyers with radar, and switch to AP as soon as an opponent shows enough broadside.
It is not a flawless game. The initial approach is too aggressive, some radar activations could have produced more value, and the ending becomes far more dangerous than it ever needed to be.
Battle results
| Statistic | Result |
|---|---|
| Damage | 178,060 |
| Shell hits | 200 |
| Fires | 5 |
| Ships destroyed | 1 |
| Hit points remaining | 1,735 |
| Result | Victory |
178K damage naturally draws the eye, but it is not the most interesting part of the replay.
The real key is how Baltimore uses one island to reduce enemy firing lanes and choose which engagements to take.
A six-versus-six Ranked battle
Ranked is less forgiving than a standard Random Battle.
In a six-versus-six match, losing a cruiser or destroyer early carries much more weight. The same applies to capture areas: when one flank is abandoned, fewer players remain to repair the situation.
I therefore begin by heading toward C alongside the allied light ships.
The plan is not to sail straight into the cap. In Baltimore, I want to control its approaches and create room for our destroyer.
This is exactly the sort of situation in which the ship excels:
- pressure destroyers with radar;
- use terrain to protect one flank;
- punish cruisers forced to manoeuvre near the cap;
- preserve enough HP to remain dangerous later.
Baltimore does not need to enter the capture area herself to be useful. If she makes the cap too dangerous for the enemy team, she is already doing a large part of her job.
A good position… but an approach that was too fast
The position near C is good.
The island blocks part of the enemy fire while leaving me an opening toward the cap and any ship trying to pass through it.
The problem is my arrival.
I carry too much speed and get detected before the ship is properly set. The first enemy salvo costs roughly 4,000 HP without giving me anything in return.
That is exactly the sort of damage that can be avoided.
By slowing down a few seconds earlier and pointing the bow directly toward the threat, I would probably have reduced the loss.
The important point is that a strong position must be prepared before detection.
You should already know:
- where you are likely to be spotted;
- which way the hull will be pointing;
- which battleships may have a firing lane;
- how you can return to cover immediately.
Arriving five seconds later with the ship correctly positioned is far better than gaining five seconds and giving away several thousand HP.
An island is not only for hiding
This is probably one of the most interesting parts of the replay.
The island is not simply a large wall behind which I wait. Its real purpose is to control how many opponents can shoot me at the same time.
When I move slightly forward, one target appears. When I reverse, the firing lane disappears. Meanwhile, most of the other enemies remain blocked by terrain.
Instead of fighting the whole enemy team, I try to turn the situation into a series of small duels.
That is exactly what this type of positioning should achieve.
There is still a flaw: some of my peeks last too long.
Once the salvo has left the guns, staying visible for another second or two usually achieves nothing. A battleship already waiting with loaded guns, however, needs only those two seconds.
The ideal sequence is:
- check that the main threat has just fired;
- move only far enough to clear the guns;
- fire the salvo;
- return immediately behind the island;
- reload under cover.
There is no need to stay outside and admire the shells. They will manage perfectly well without us.
First radar: not bad, but not fully converted
The first radar is activated around C while I am protected by the island. The idea is sound.
With 10 km range, Baltimore can stop a destroyer from playing comfortably around the cap, even when it believes an island or smoke will protect it.
The problem is that this first radar produces little direct damage.
It is not useless. A destroyer that knows a Baltimore can radar it loses freedom of movement. That pressure still matters even without an immediate damage total.
But the activation could have been better prepared.
Before pressing radar, ideally check four things:
- the destroyer is probably within range;
- your guns are loaded;
- allies have a firing lane;
- the target cannot simply escape the area within seconds.
If possible, warn the team just before activating it.
Allies quickly see the detected ship on the minimap, but they need a few seconds to bring their guns onto it. Announcing radar allows attentive players to pre-aim.
In this battle, my three radars mainly contribute to controlling C. With better coordination, they probably would have generated more direct damage.
HE or AP? Look at the angle first
Ammunition choice is probably the best part of my play in this battle.
Players often hear a simple rule:
- HE against battleships;
- AP against cruisers.
That is acceptable for a beginner, but it quickly becomes too simplistic in Baltimore.
The target’s angle often matters more than its class.
First salvo at Vladivostok
Vladivostok is distant and heavily angled, so I stay with HE.
At that range and angle, Baltimore’s 203 mm AP would mostly ricochet or shatter against the thicker armour sections.
HE can instead damage the superstructure and some extremities, while also offering a chance to start a fire.
The first salvo does little damage, partly because one shell fails to penetrate.
It is a useful reminder: even with HE, aiming at the middle of the armour belt is rarely a clever idea.
Switching to AP against cruisers
When Enigheten and then Mainz begin to show more broadside, I switch to AP. The damage rises much faster.
Baltimore’s American AP uses improved ricochet angles. A target does not need to offer a perfectly flat broadside before it begins taking heavy penetrations.
Against a nearby cruiser, I usually aim for:
- the centre of the hull;
- the area below the funnels;
- the waterline when the ship is perfectly broadside;
- slightly higher when it begins closing the angle.
Positioning helps enormously against Mainz.
The island forces it to appear through a predictable opening, so I can place the reticle almost before the target is fully visible.
This is no longer only about aim: positioning lets you prepare the shot before the target has completely appeared.
Why I choose to shoot the Mainz
At several points, I could continue farming the battleships. Mainz is a far better target.
It is close, repeatedly offers broadside, and directly threatens the allied destroyers around C.
It also brings torpedoes and a high volume of fire.
Removing it achieves much more than increasing the damage counter:
- less enemy DPM;
- less pressure on our destroyer;
- less torpedo threat;
- more freedom around C;
- potentially a numerical advantage.
The principle reaches beyond this battle: the best target is not necessarily the easiest ship from which to farm damage.
It is the ship whose removal improves your team’s position the most.
The close-range duel with Monarch
Monarch eventually appears only five or six kilometres away.
While it remains angled, I use HE. At this range, HE can continue dealing damage to certain parts of the ship while looking for fires.
Then it begins to show broadside. I immediately switch to AP.
You need to react quickly because this window may last only a few seconds.
If I wait for another HE salvo before changing ammunition, the battleship may already have closed its angle.
Try to anticipate the manoeuvre instead of merely reacting to it:
- HE while it remains closed;
- prepare AP as soon as it begins turning;
- aim low when it shows a clean broadside;
- aim slightly higher when it starts angling again;
- return to HE when the angle becomes too steep.
A significant share of the 178,060 damage comes from this ammunition management.
At some point, damage stops being important
This is probably the central lesson of the battle.
By the middle of the match, our team controls two capture areas and holds a comfortable lead.
My role changes at that moment.
Early on, I needed to secure control around C and create a local advantage. Now? The priority is simply not to die.
Every second I stay alive and protected allows the caps to keep generating points.
The problem is that the game visually rewards aggression.
Every successful salvo immediately provides something: damage, penetrations, fires and ribbons. Sitting behind an island for thirty seconds gives you nothing to watch.
Yet in this situation, my remaining HP is probably worth more than another 10,000 damage.
This is precisely when I begin taking too many risks.
Final radar: Monarch or Z-23?
Z-23 is still alive and can continue contesting C.
Using the final radar is therefore logical. The real question is which target to engage afterward.
Should I continue shooting Monarch, which is very easy to hit, or keep the guns available for the destroyer?
It depends entirely on the score.
Here, our team owns A and B with a strong lead. Continuing to reduce Monarch is not unreasonable.
In a closer battle, however, I would clearly prioritise the destroyer.
A surviving DD can:
- retake a capture area;
- interrupt a capture;
- lay a smoke screen;
- maintain spotting on allies;
- or simply survive long enough to reverse the points race.
Once again, the easiest damage is not necessarily the most useful damage.
The real mistake of the battle
The main error occurs during the final minutes.
I am already very low on HP. We control the battle, and the capture areas should give us the victory.
The best decision at this point is not spectacular: remain completely behind the island for roughly thirty seconds.
I could then peek only if the score required it, or after watching Monarch fire somewhere else.
Instead, I keep looking for salvos. One, then another.
My HP falls below 14,000, then below 8,000… and finally reaches 1,735 hit points.
From that point, one good Monarch salvo can completely change the end of the game.
I do eventually destroy it with a final HE salvo just before the points victory. It looks good in the replay, but strategically the risk made very little sense.
Five lessons from this battle
1. Prepare your position before being detected
Slowing down and correctly angling the ship a few seconds before contact can prevent several thousand points of free damage.
2. Use islands to reduce the number of opponents
A good island does more than block shells. It should let you choose your duels while preserving an escape route.
3. Choose ammunition according to angle
Use HE against heavily angled targets. Switch to AP when a nearby cruiser or battleship begins showing broadside.
The target’s class matters, but its angle often matters more.
4. Prepare your radar
Radar used without loaded guns or allies able to fire mainly provides information.
The same radar announced a few seconds in advance can be extremely expensive for a destroyer.
5. Adapt your aggression to the score
When your team controls two caps and holds a comfortable lead, continuing to trade HP for a little more damage may not be worthwhile.
At that point, surviving can become the best way to win.
What this battle tells us about Baltimore in Ranked
This game neatly summarises what makes Baltimore so interesting in Ranked.
Her radar creates enormous pressure on destroyers.
Her shell arcs let her work efficiently around islands.
And when a cruiser or battleship shows too much broadside, her AP can deal heavy damage very quickly.
The 178,060 damage mainly comes from strong positioning and correct ammunition and target choices.
Finishing the battle on only 1,735 HP also provides an important reminder:
Gaining an advantage is one thing. Knowing when to stop taking risks after securing it is another.
For the recommended build, upgrades, commander skills, and ship characteristics, read our complete Baltimore guide.
New to World of Warships?
If you are starting WoWS on the Europe server, use our recruitment link to claim the available new-player rewards:
Claim the recruitment rewards ↗
For more guides, builds, bonus codes, and advice, explore WoWS Guides.